Data Preparation
This chapter walks you through setting up rooms and courses data in TPlus Exam before importing and processing raw data.
3.1 Data Preparation Overview
This chapter covers setting up the foundational data in TPlus Exam. You will import your Room Management and Course Management data through the Database menu. These are the essential records that must be in place before importing and processing any raw data in Chapter 5: Process & Analyze.
3.2 Database
Start by setting up the rooms and courses data. These must be in place before you process any raw data. Use the Database menu in the top menu bar to access each one.
3.2.1 Room Management
Rooms are the venues where exams will be held. Each room must have the correct seating capacity — the system uses this to decide how many students fit in each room when generating the timetable.
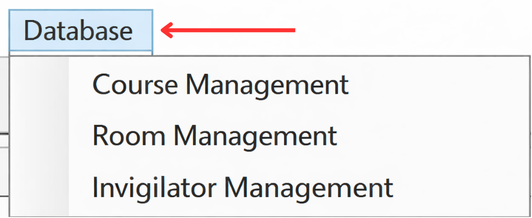
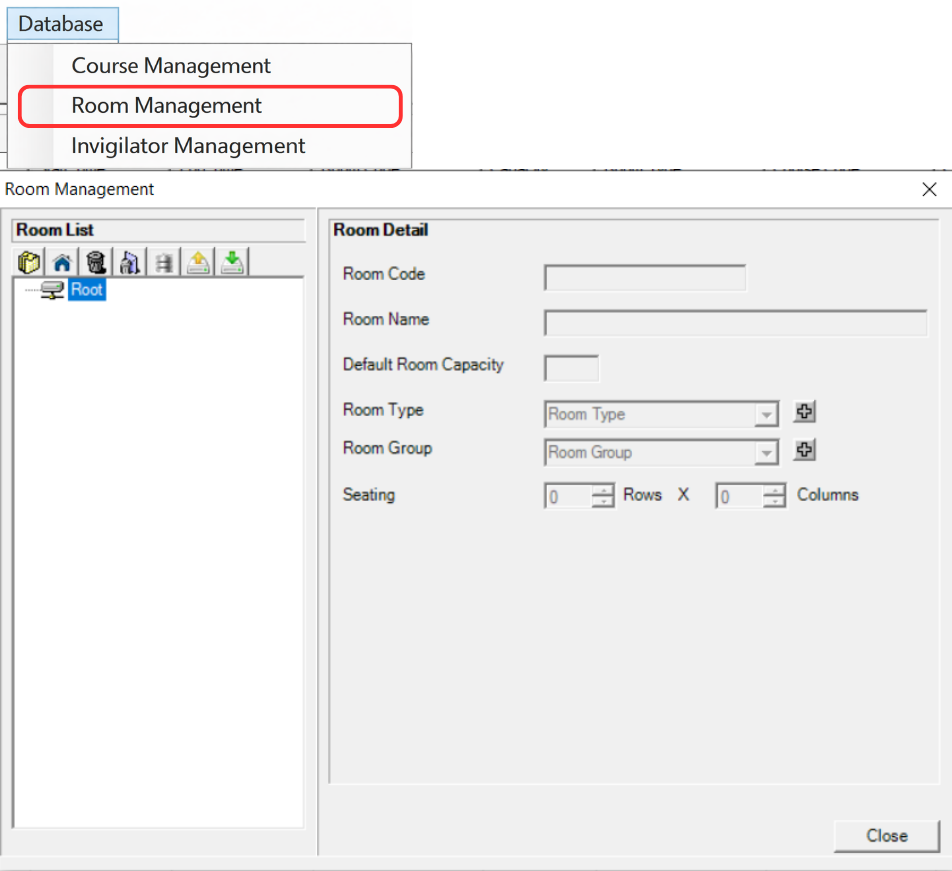
Step 1 — Open the Database menu in the top menu bar and click Room Management.
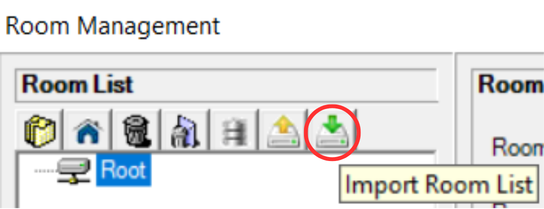
Step 2 — Click the Import Room List icon.
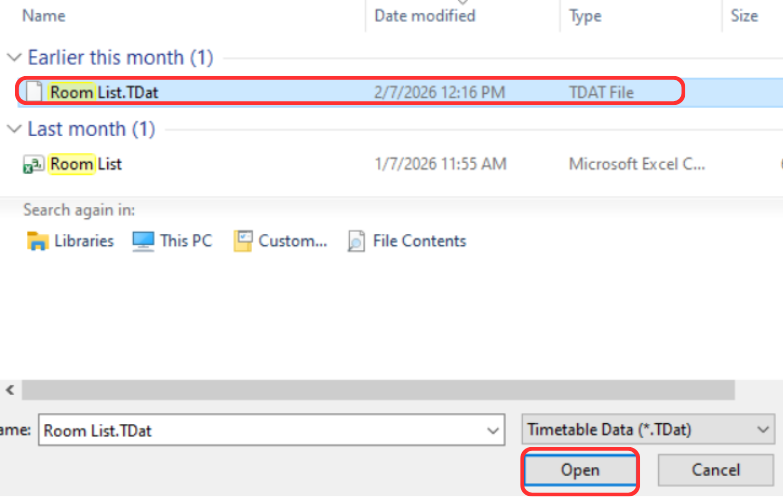
Step 3 — A file browser will open. Find your room file (.TDat), select it, and click Open.
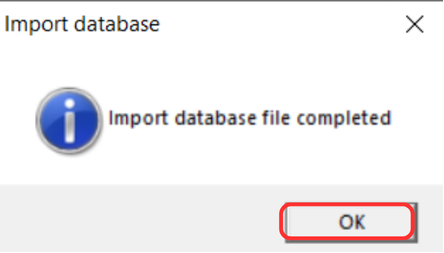
Step 4 — A confirmation message will appear once the import is done. Click OK to continue.
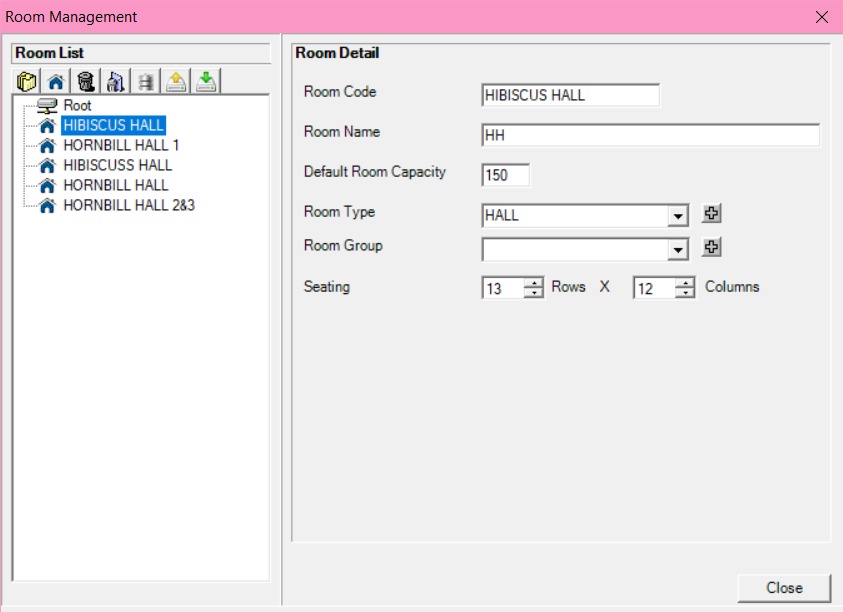
Step 5 — Check that all room names and capacity numbers are correct in the list.
3.2.2 Course Management
The data at Course Management is to ensure that the exam duration and course name is being keyed in correctly before processing of the Student Raw Data (which will be explained in the later chapter). The system matches student records at the Student Raw Data to courses based on course code and it is important to have the Course Management data ready before processing of Student Raw Data.
You can also set the exam duration at course level here. If the exam duration is defined in Course Management, it does not need to be entered again in Student Raw Data exam duration field. If it is not defined here, it must be provided in the Student Raw Data file.
Step 1 — Open the Database menu and click Course Management.
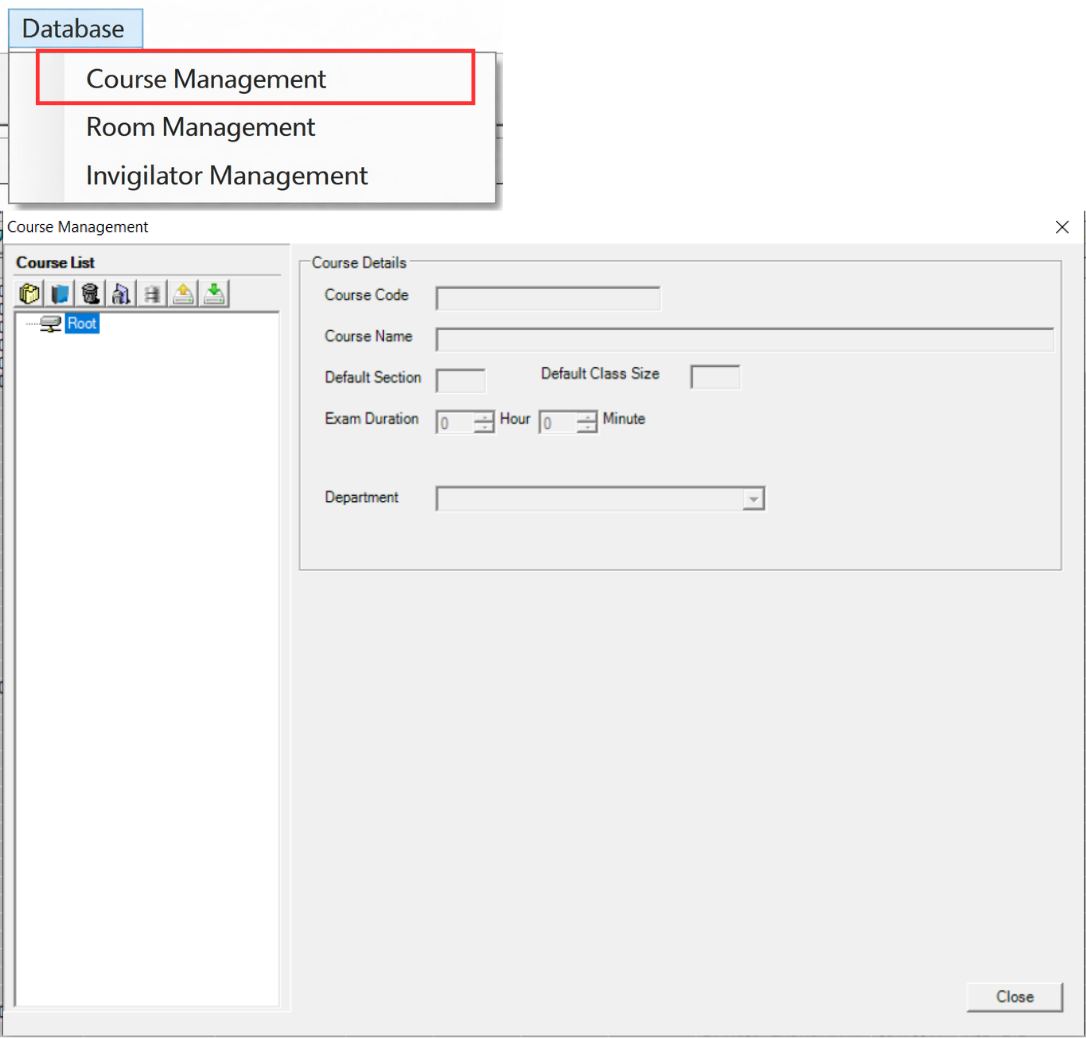
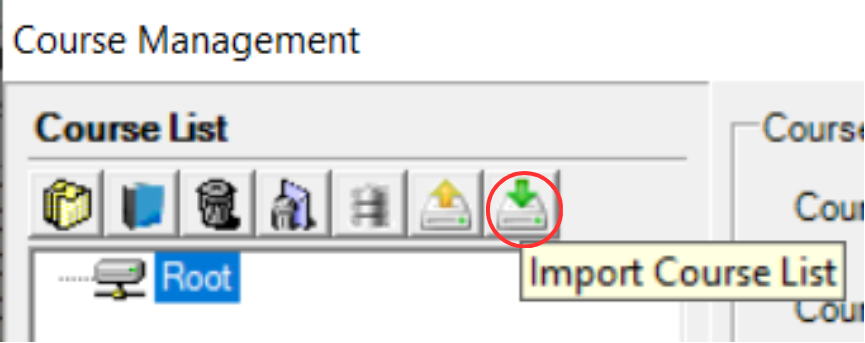
Step 2 — Click the Import Course List icon.
Step 3 — A file browser will open. Find your course file, select it, and click Open.

Step 4 — A confirmation message will appear once the import is done. Click OK to continue.
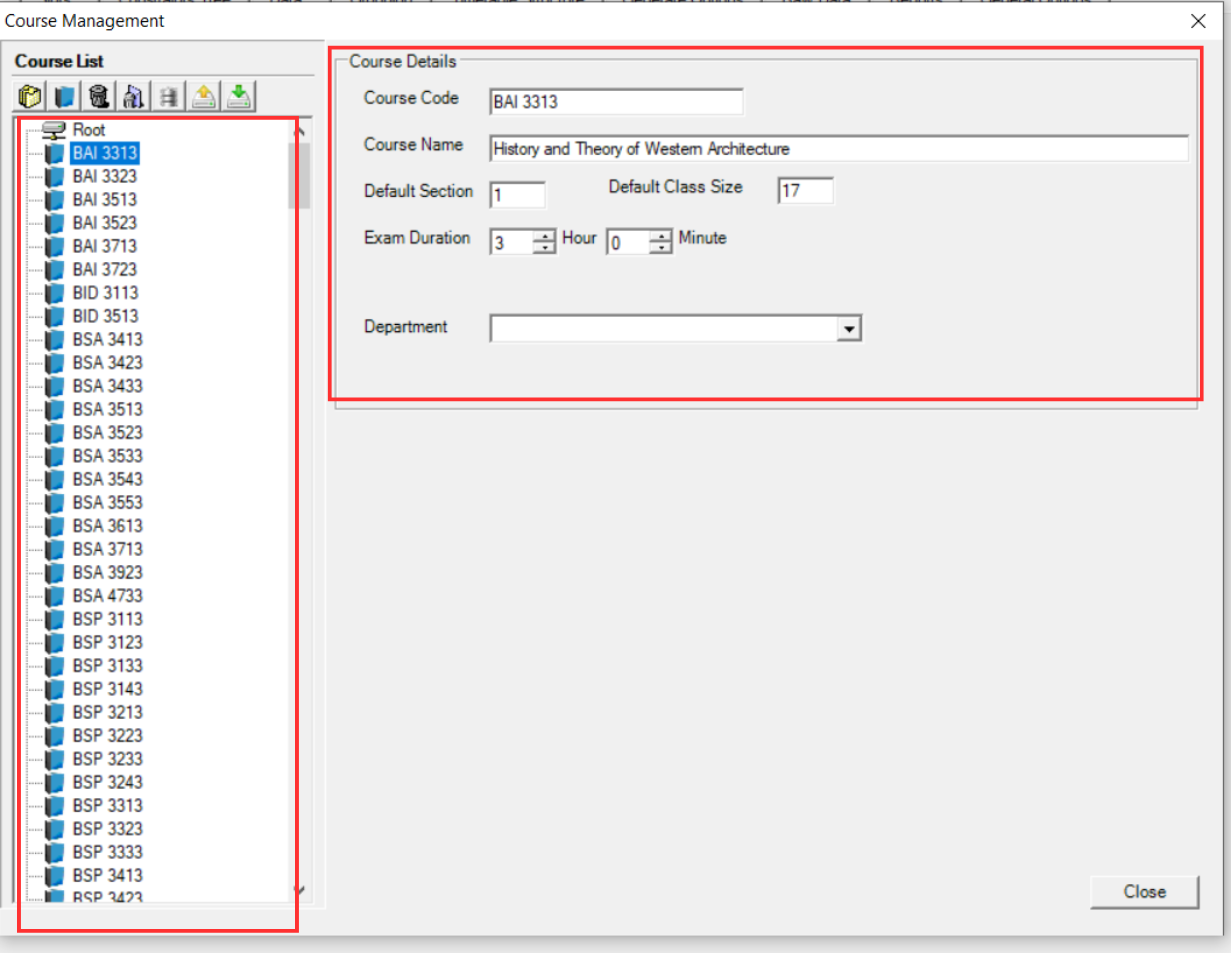
Step 5 — Check that all course codes, names, and durations are displayed correctly in the list.
3.2.3 Invigilator Management
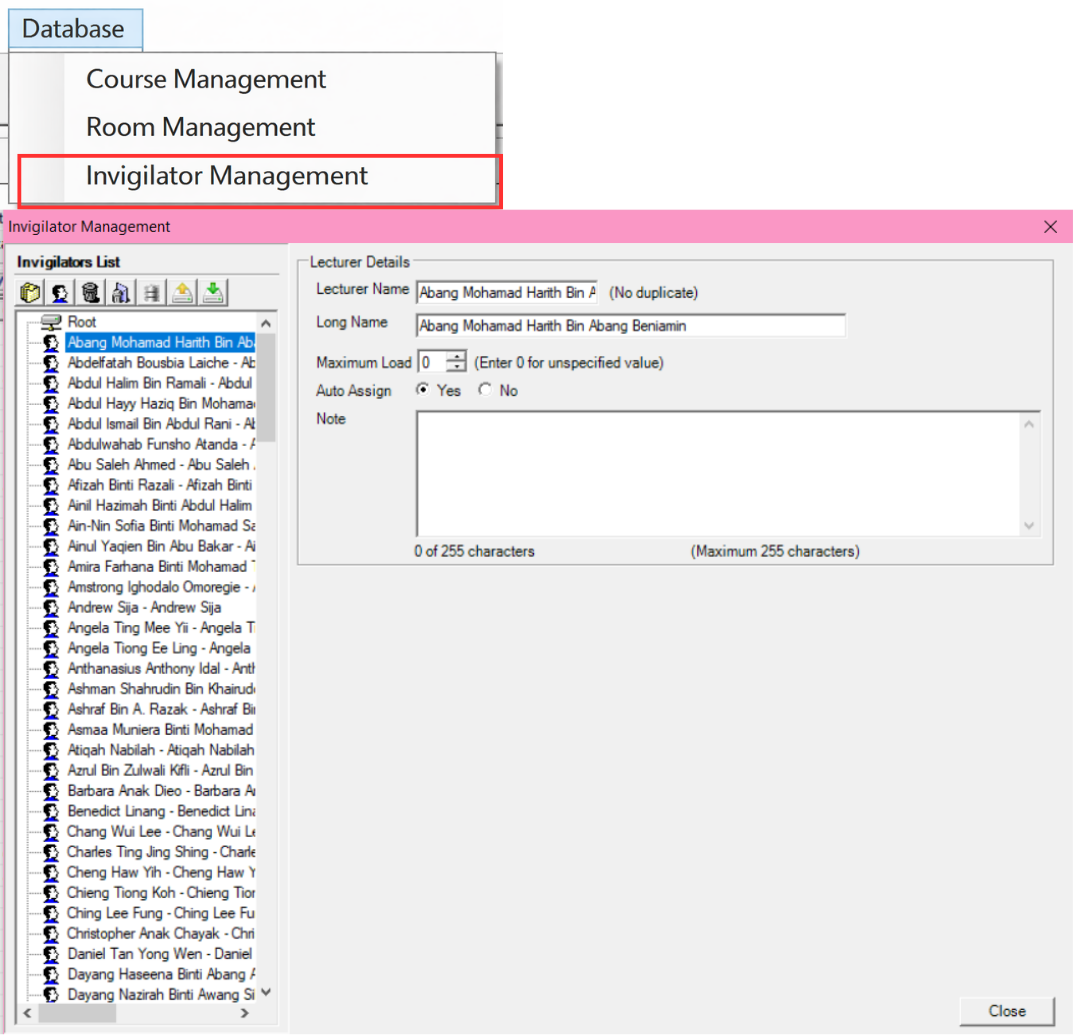
Invigilator Management displays the list of all invigilators available in the system. The purpose of this section is to provide an overview and allow users to view the total number of invigilators that have been registered.
Important: Do not manually edit or add data in this section. The invigilator list is automatically populated when you import and process the Lecturer Raw Data and Non Academic Raw Data in Chapter 5: Process & Analyze. At this stage, the invigilator list will be empty — this is expected.
You can access this section by going to Database → Invigilator Management. After you have completed importing and processing raw data in Chapter 5, return here to verify the total number of invigilators and confirm that all lecturers and non-academic staff have been correctly registered in the system.
3.2.4 Import Database from E-Campus
Before importing, you need to know the E-Campus Settings. Refer to Installation & Setup — E-Campus Settings (To Import Database).
There are 5 simple steps to import the database from E-Campus.
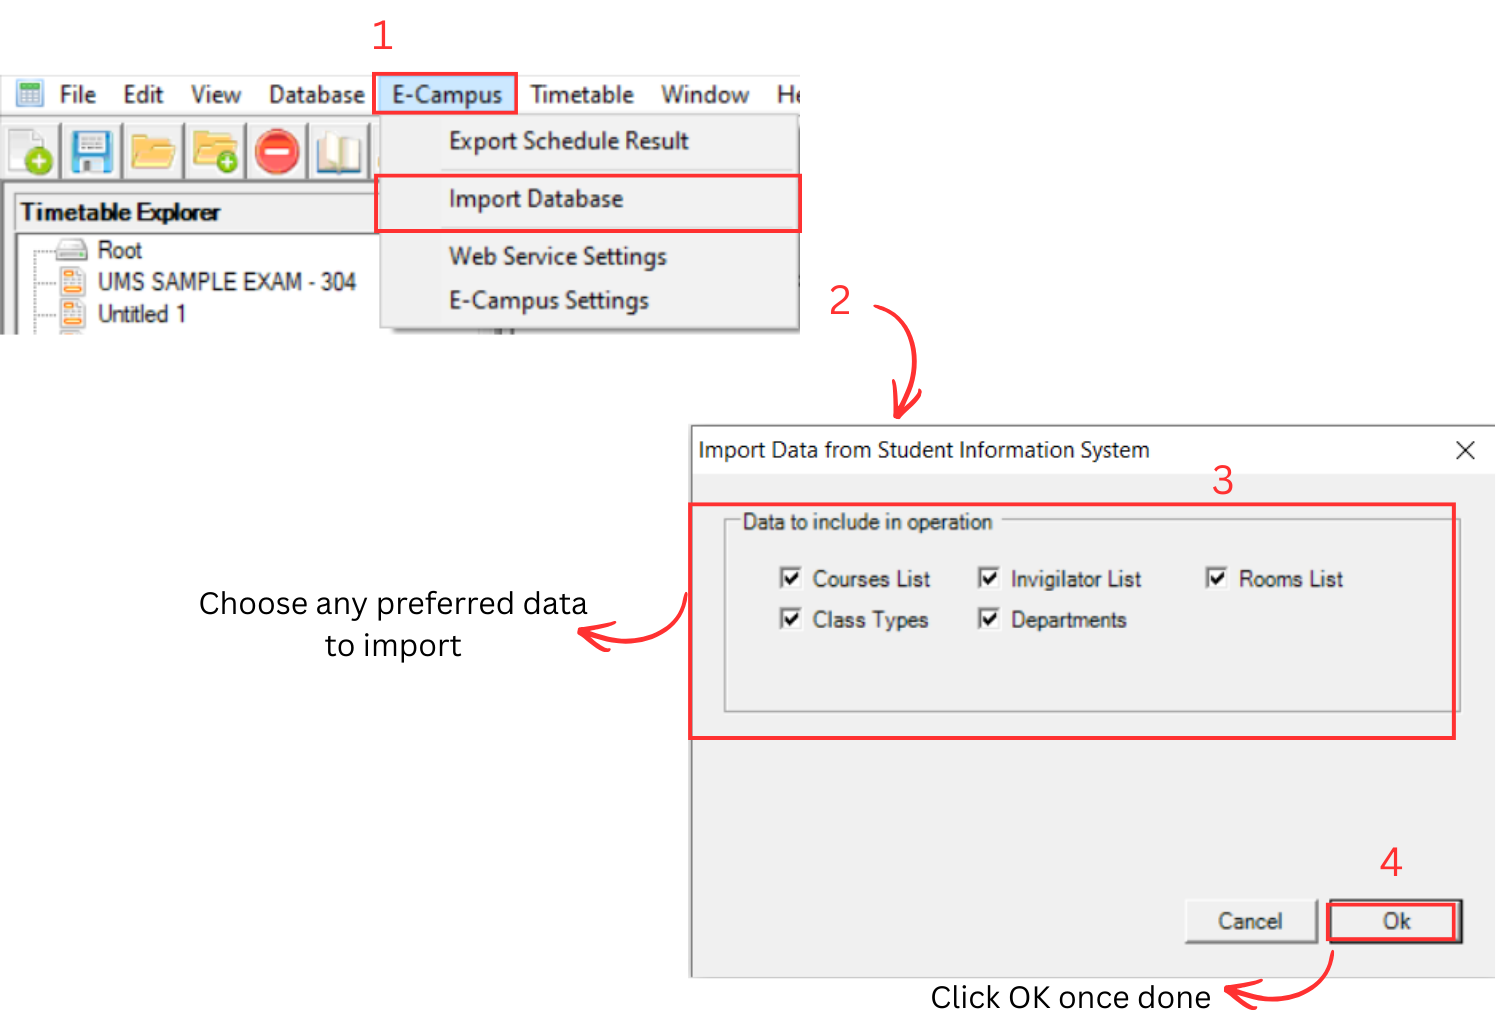
Step 1: Go to E-Campus Menu.
Step 2: Click Import Database.
Step 3: Choose the preferred data to import by ticking the checkboxes (e.g. Courses List, Invigilator List, Rooms List, Class Types, Departments).
Step 4: Click Ok.
Step 5: The system will begin processing the import. Wait for the process to complete.

Once the import is completed, a success message will appear confirming that the data has been imported successfully from E-Campus.
After a successful import, you can verify the imported data by checking each section under the Database menu. For example, go to Database → Room Management to view all rooms that were imported, or Database → Course Management to check the imported course list. Ensure that all data imported matches the records from your E-Campus system.
3.2.5 Review and Edit Imported Data
After importing rooms and courses data, review the records and make any necessary adjustments before proceeding to raw data processing. Changes are automatically reflected in the respective management list.
3.2.5.1 Review and Edit Room Management Data
Use this section to verify and correct room records after importing. You can Add, Edit and Delete Room in Room Management.
1. Add Room
To add room in Room Management, there are 3 simple steps.
Step 1 — To create a new room, click on the icon Create New Room. ![]()
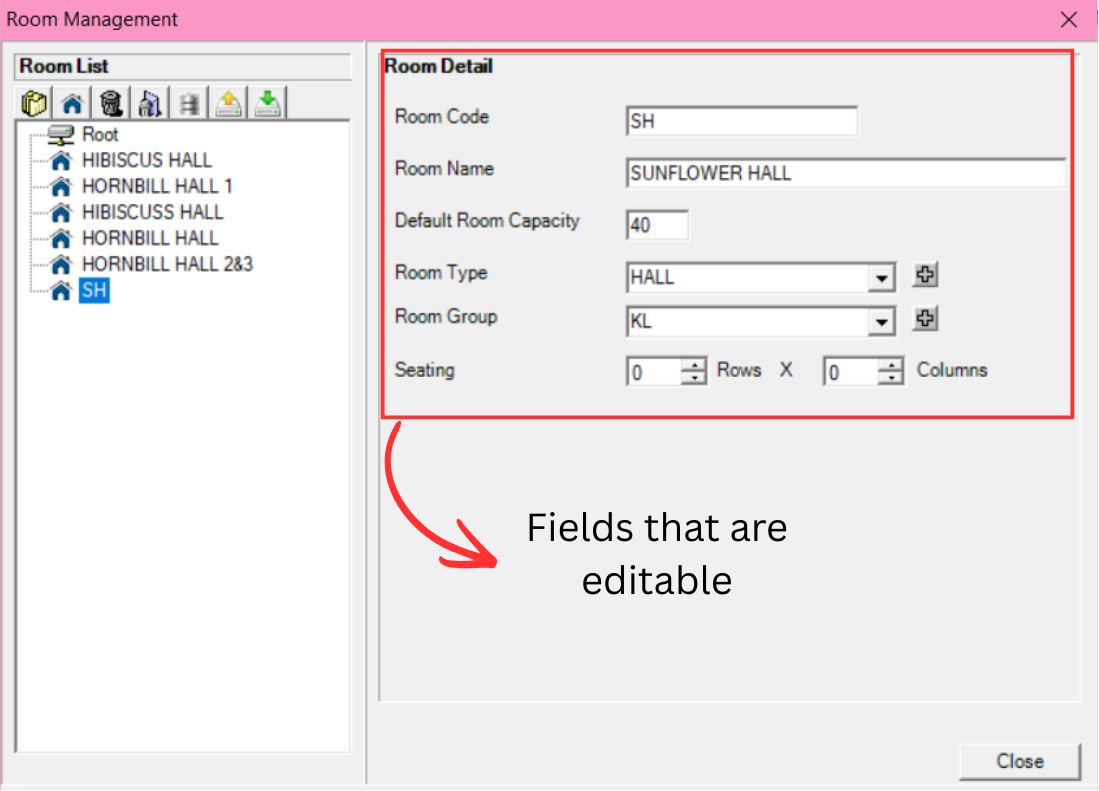
Step 2 — Once you have clicked the icon, select the new room that appearing on the left side.
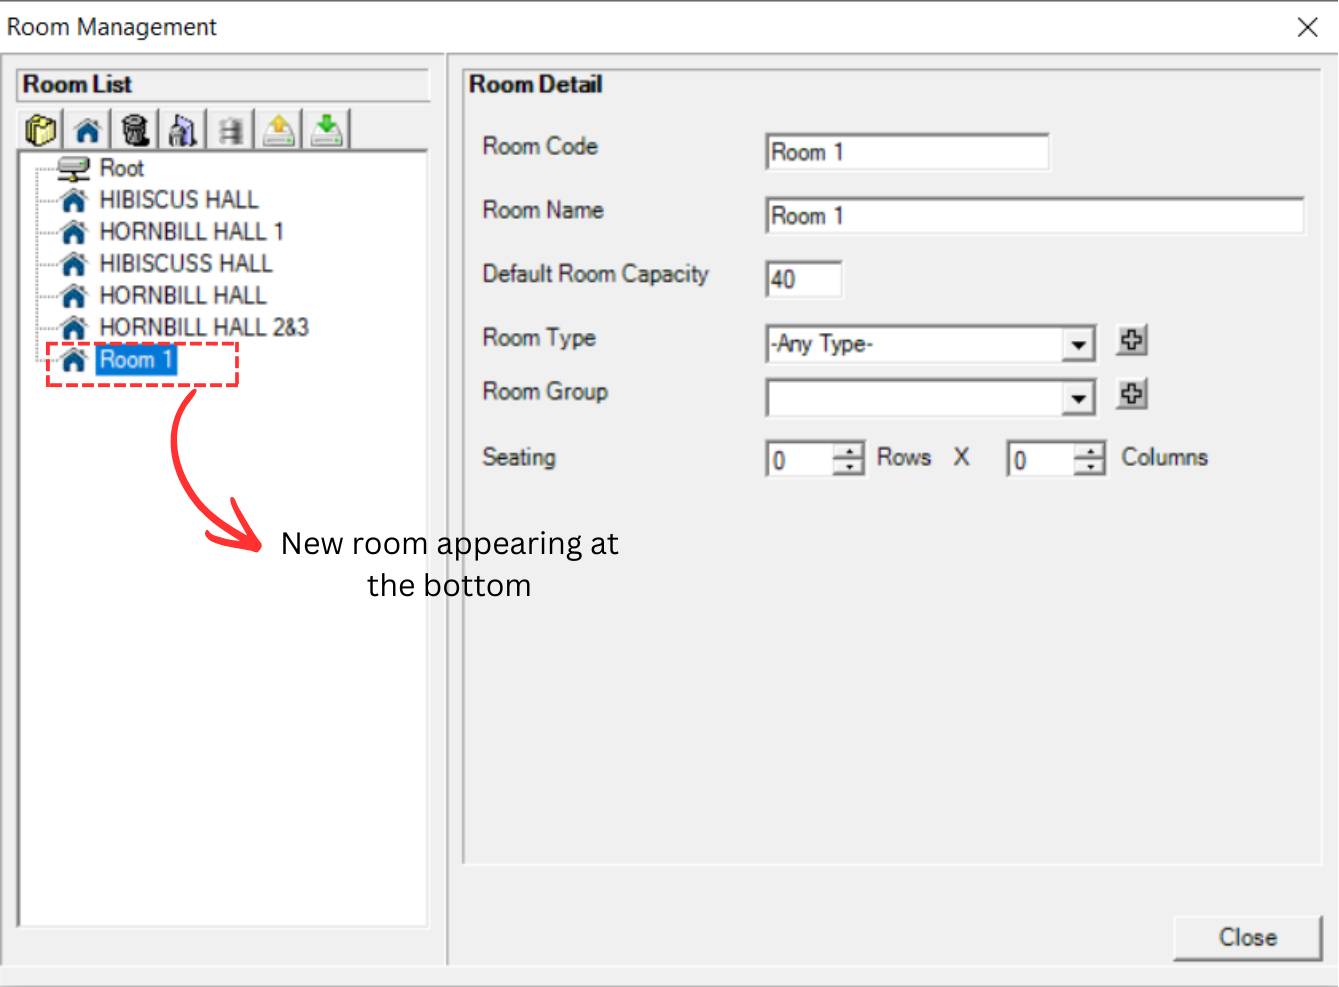
You will be able to see the Room details on the right side.

Step 3 — To fill in, refer to the table below.
| Field | Description |
|---|---|
| Room Code | Short name of the room. Room code cannot be duplicated and compulsory. Example: SH |
| Room Name | Long name of the room. It is compulsory. Example: Sunflower Hall |
| Default Room Capacity | The number of students that a room can accommodate based on its size. It is compulsory. |
| Room Type | Type of exam venue. It is compulsory. Example: Hall or Lecture Hall |
| Room Group | Building or campus location of the room. It is non-compulsory. Example: KL |
| Seating | Exam seating arrangement for the room. This is non-compulsory at the moment. |
Table 3.2.5.1: Room Details Explanation
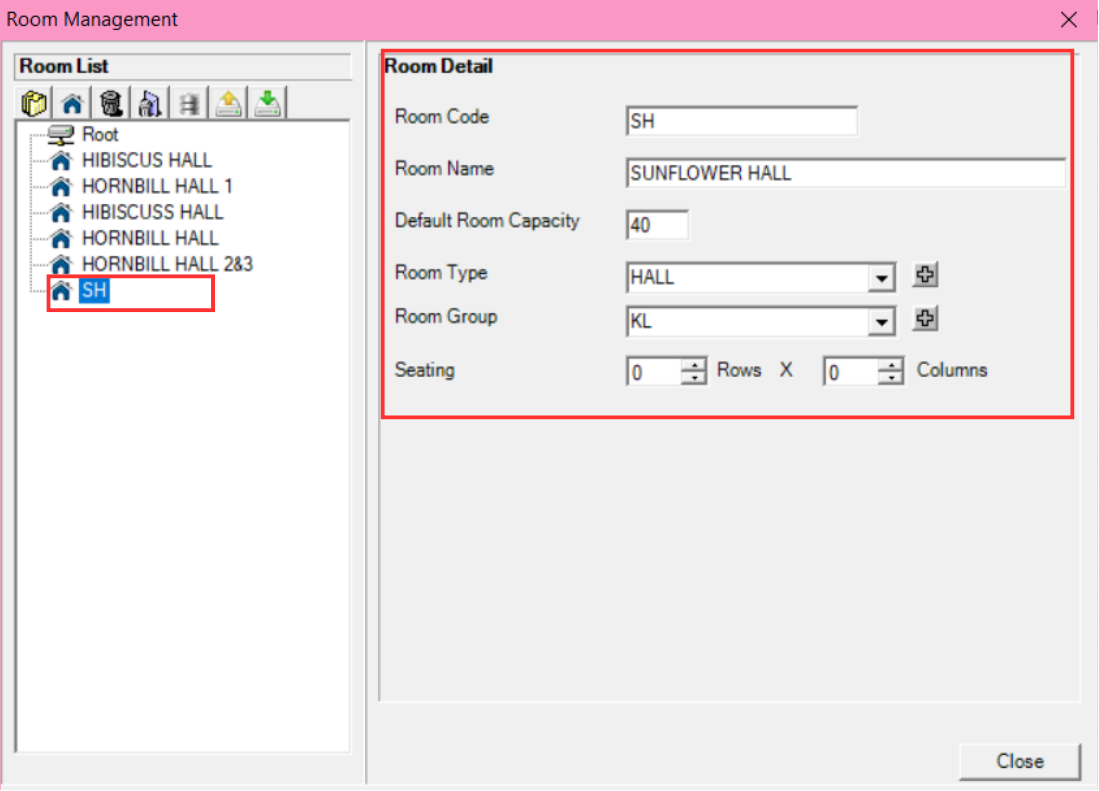
Below is an example of a completed room form. Note that there is no Save button — changes are automatically saved into Room Management when you close the form.
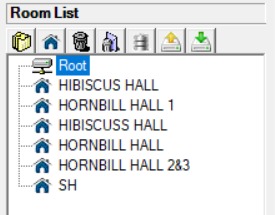
The new room will automatically appear at the bottom of the list. When you reopen Room Management, the room will be sorted in alphabetical order.
2. Edit Room
To edit room in Room Management, there are 4 simple steps.
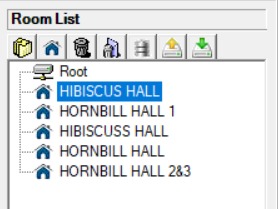
Step 1 — To edit a room, open the Room Management. ![]()
Step 2 — Choose the room that you want to edit.
Step 3 — Edit the room information. For example, changing the default capacity from 40 to 250. Refer to the picture below.
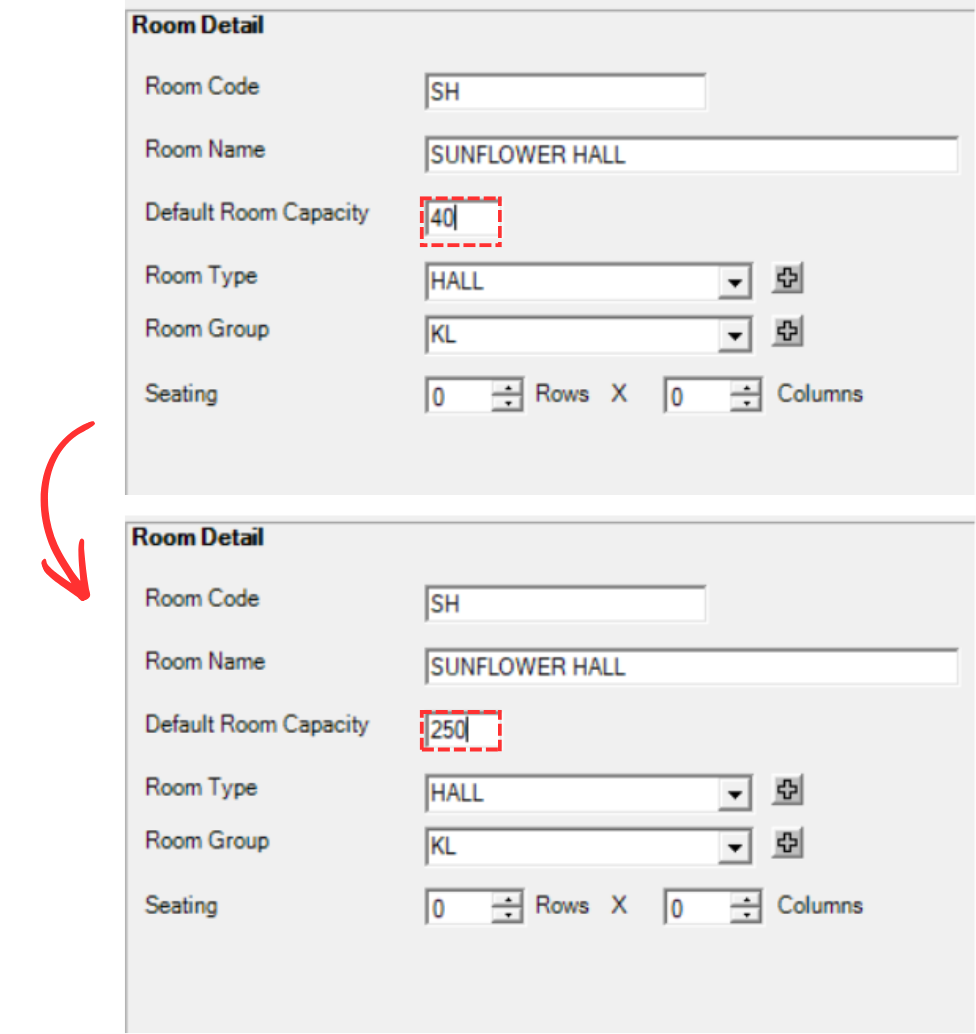
Step 4 — All done. You can simply close it as it is automatically updated inside Room Management.
3. Delete Room
There are 2 ways to delete a room. You can delete a room/folder or you can delete All Rooms.
Alternative 1: Delete a Room/Folder
Step 1: Select the room or the folder that you want to delete.

Step 2: Click the Delete Folder or Room icon. ![]()
Step 3: A pop-up confirmation window will appear. Click Yes to proceed.
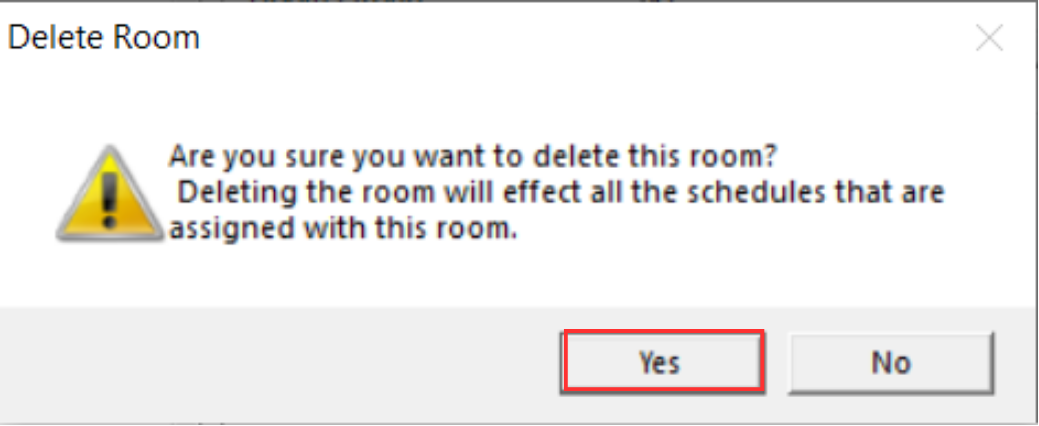
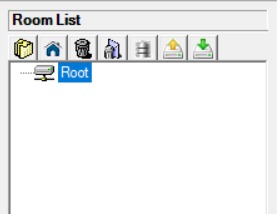
The selected room has been successfully removed from the Room Management list.
Alternative 2: Delete All Rooms
Step 1: Click the Delete All icon. 
Step 2: A confirmation window will pop-up. Click Yes to proceed.
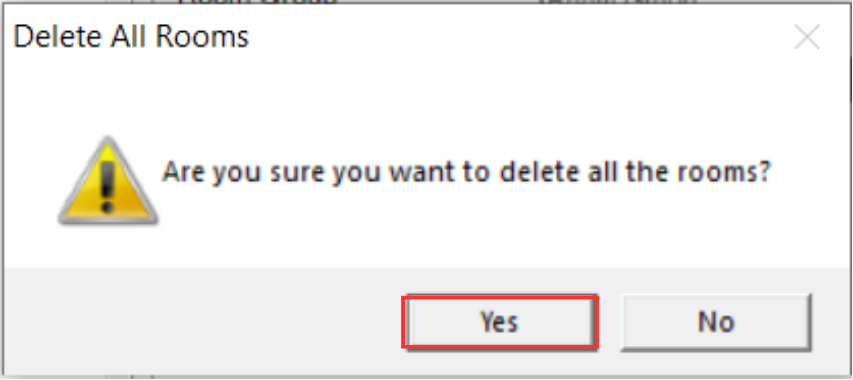
All rooms have been successfully removed from the Room Management list.
3.2.5.2 Review and Edit Course Management Data
Use this section to verify and correct course records after importing. Accurate course data ensures the system can properly match students and assign exam durations.
Open Course Management to review the imported course list. You can make the following adjustments:
1. Add Course
To add course in Course Management, there are 3 simple steps.
Step 1 — To create a new course, click on the icon Create New Course. 
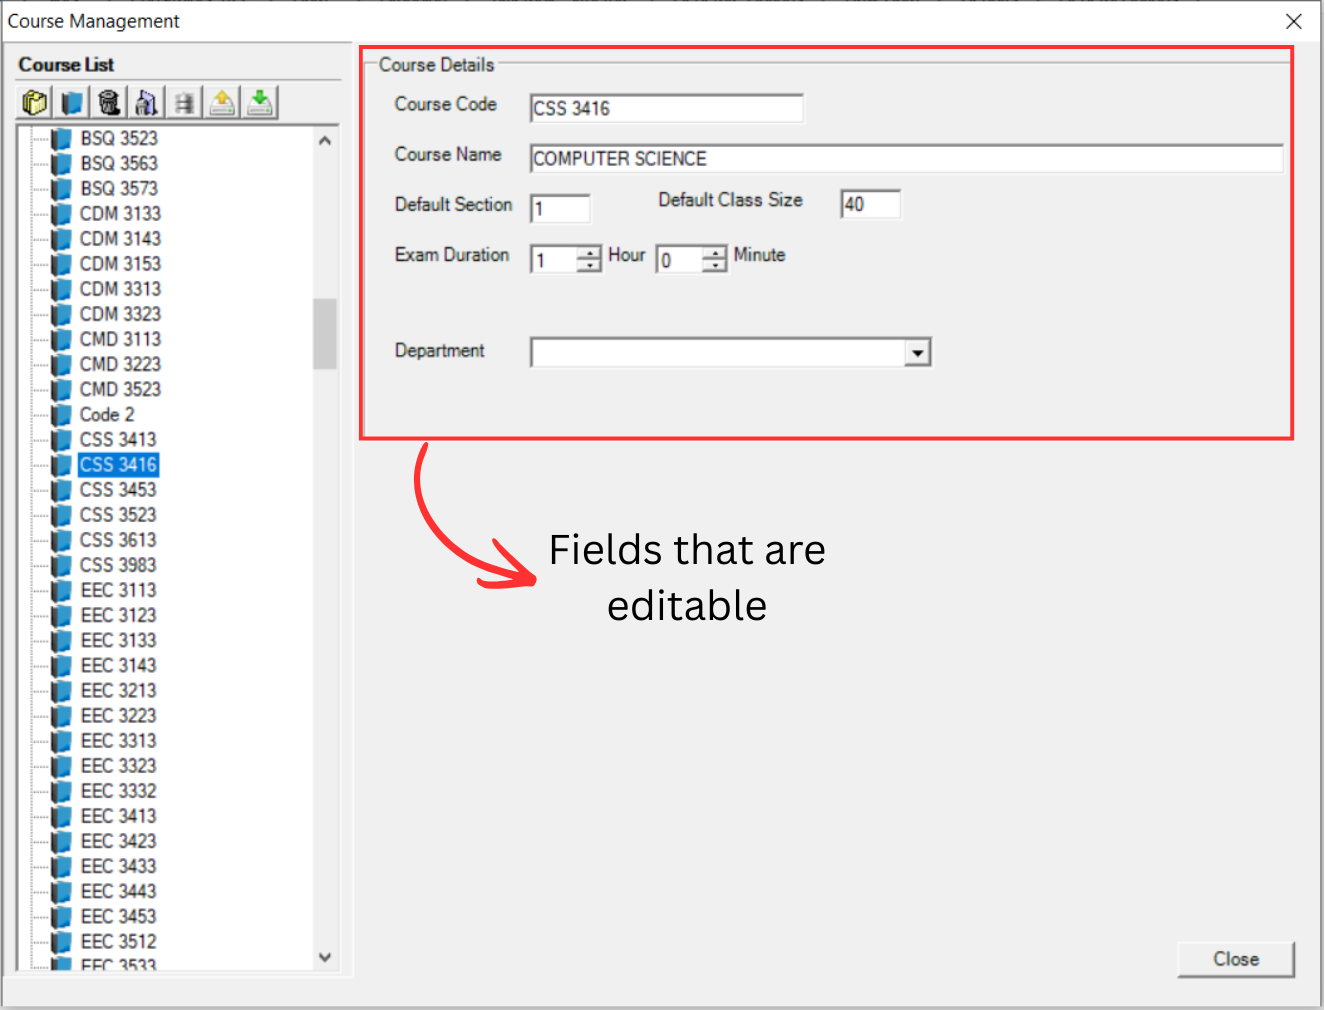
Step 2 — Once you have clicked the icon, select the new course that appearing on the left side.

You will be able to see the Course details on the right side.
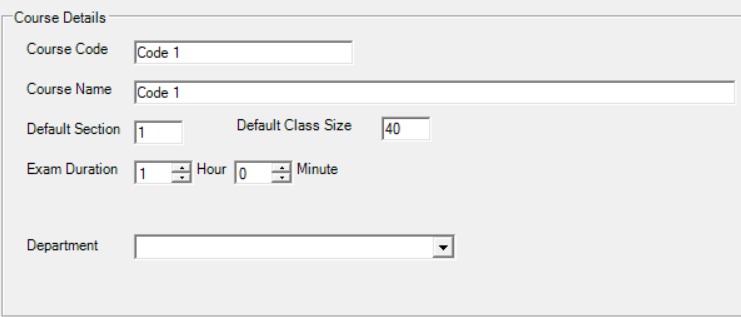
Step 3 — To fill in, refer to the table below.
| Field | Description |
|---|---|
| Course Code | Short name for the course. This field is compulsory and cannot be duplicated. Each course must have a unique code. Example: CS110 |
| Course Name | Full name of the course. This field is compulsory. Example: Computer Science |
| Default Section | Default Section number in the timetable. Keep this value at its default setting; no changes are required. |
| Default Class Size | Default number of class capacity. Keep this value at its default setting; no changes are required. |
| Exam Duration | Duration of the exam for this course (in hours). This field is compulsory — without it, the course cannot be scheduled properly. Example: 2 (for a 2-hour exam) |
| Department | Department of the course belong to. This field is non-compulsory. |
Table 3.2.5.1: Course Details Explanation
Below is an example of a completed course form. Note that there is no Save button — changes are automatically saved into Course Management when you close the form.
The new course will automatically appear at the bottom of the list. When you reopen Course Management, the course will be sorted in alphabetical order.
2. Edit Course
To edit course in Course Management, there are 4 simple steps.
Step 1 — To edit a course, open the Course Management. ![]()
Step 2 — Choose the course that you want to edit.
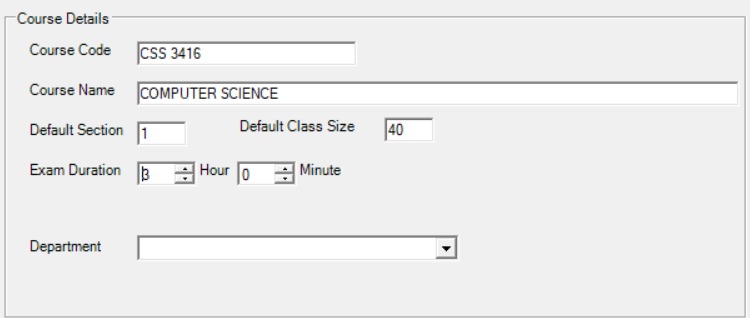
Step 3 — Edit the course information. For example, changing the course code from CSS3416 to CSS3415. Refer to the picture below.
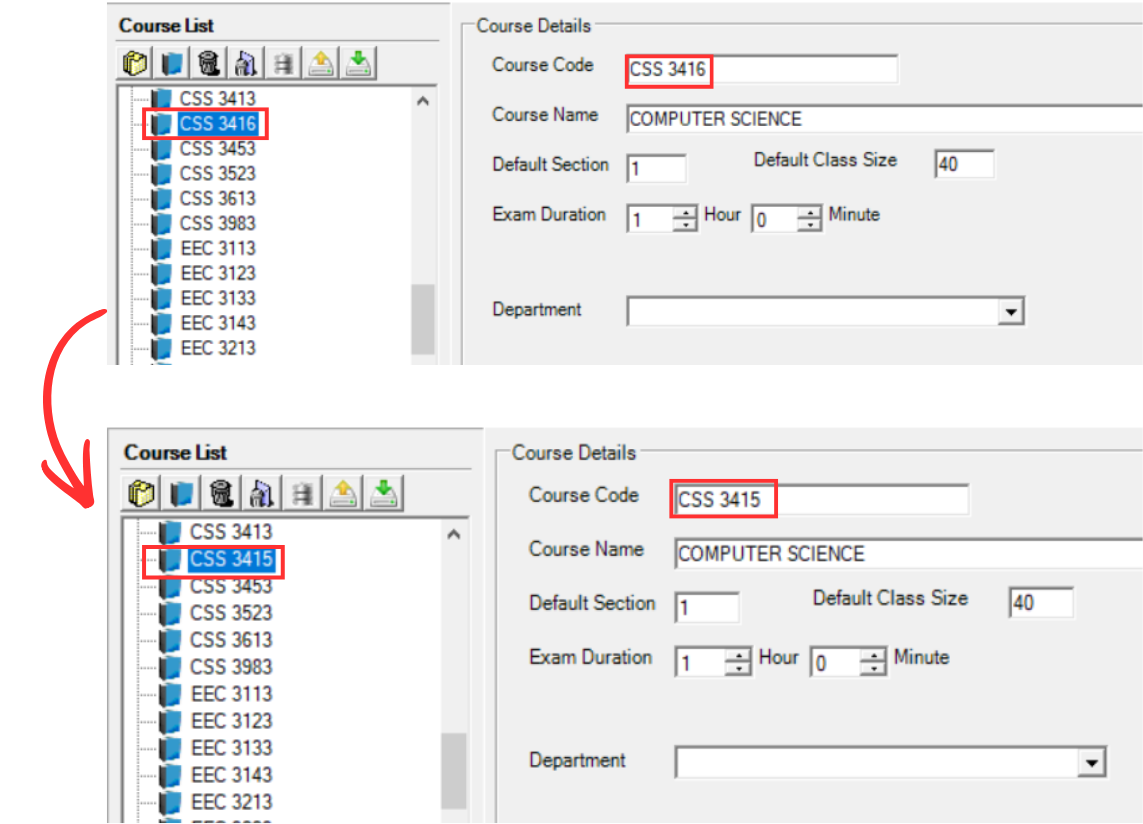
As you can see, the course code is changing on the left side as well.
Step 4 — All done. You can simply close it as it is automatically updated inside Course Management.
3. Delete Course
There are 2 ways to delete a course. You can delete a course/folder or you can delete All Courses.
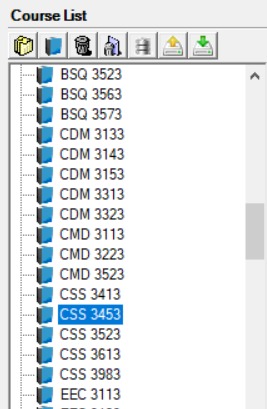
Alternative 1: Delete a Course/Folder
Step 1: Select the course or the folder that you want to delete.

Step 2: Click the Delete Folder or Course icon. 
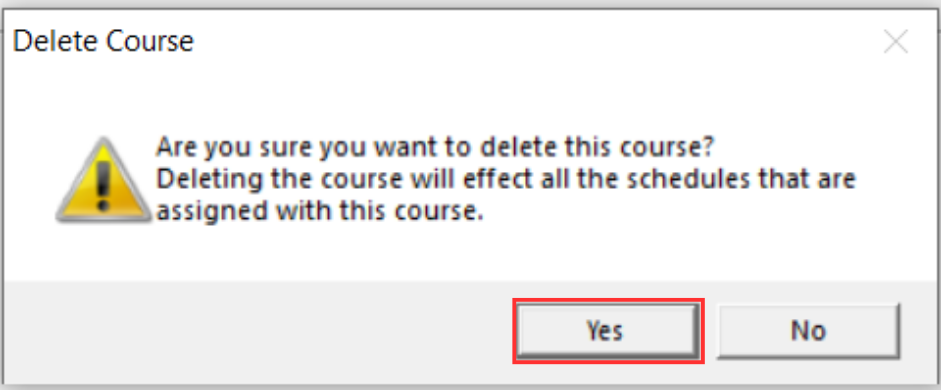
Step 3: A pop-up confirmation window will appear. Click Yes to proceed.
The selected course has been successfully removed from the Course Management list.
Alternative 2: Delete All Courses
Step 1: Click the Delete All icon.
Step 2: A confirmation window will pop-up. Click Yes to proceed.
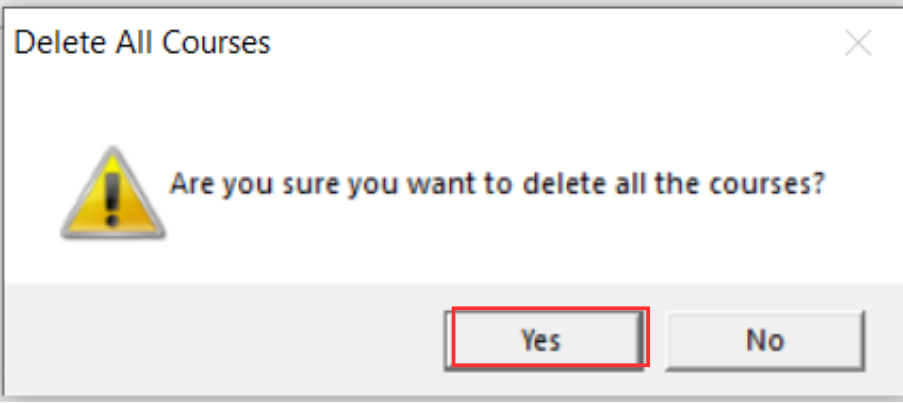
All courses have been successfully removed from the Course Management list.